Setting up for this class
How to a) get the files needed for each chapter in class and b) how to follow along with each chapter/code through.
Getting files and folders
The files for this class will include the raw data, the scripts, and r markdown files.
There are a few options to download them:
1) Install the package I’ve created for this class
Each chapter has a prompt to download the files associated with each one.
Hopefully, you’ve created a New Project on your computer in your Documents folder called learning-r or something like that. This will create a .rProj file and keep the working directory relative to that folder and all data and scripts should go in there.
Once you’ve set your working directory (with maybe setwd()) then you can run these commands in your console to download the correct folders and data:
install.packages("usethis")

# This is for chapter 2 files and folders

usethis::use_course("https://github.com/r-journalism/learn-chapter-2/archive/master.zip")
These project files work because the working directory will be relative to the project/chapter folder and not to an absolute folder path. Double click the .rProj file in each project/chapter folder to open it in RStudio.
2) Download the entire repo off Github
Each repo that begins with learn-chapter-X has files and folders for each chapter we’re going through. You can clone or repo each one and open the .Rproj file in each of those folders to follow along.
3) Follow from scratch
Alternatively, you could create the files yourself from scratch with the correct folder structure. This is pretty tough for beginners but useful to really understand how project and folder structures work.
- Create a new project in RStudio right now and call it learning-r-journalism
- Save all your scripts and your data into here for now (ideally with an organized folder structure)
- Data referenced in each chapter/sub-chapter can be downloaded individually from their respective repos
- create new folders following the structure of the code in each walk through and place data downloaded from the repos as indicated
Following the code through
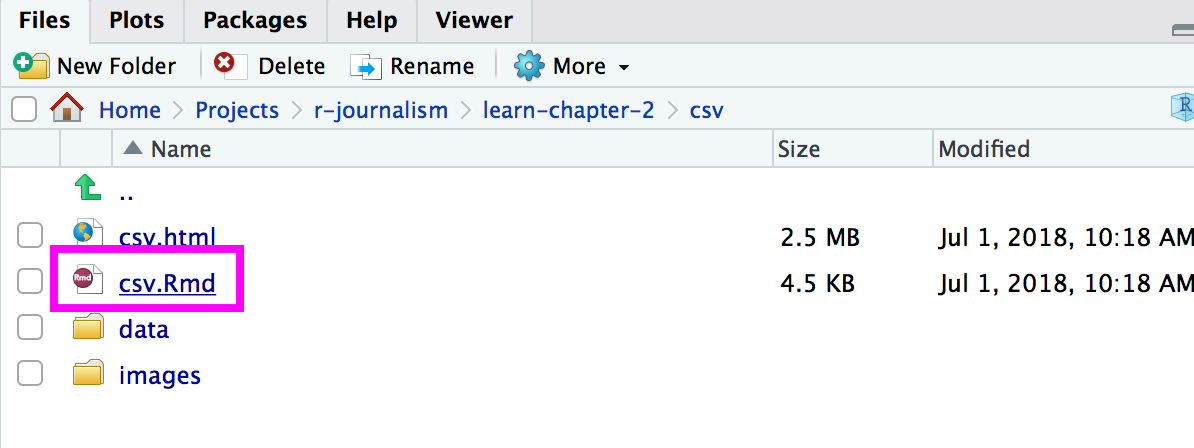
Each sub chapter has a .Rmd file that contains the scripted code for each walk through.
This is an R Markdown file, which we will explain in detail in chapter 6.
But for now, the important thing to understand is that it’s a mix of markdown text and R code.
The R code sections are indicated by the grayed out areas.
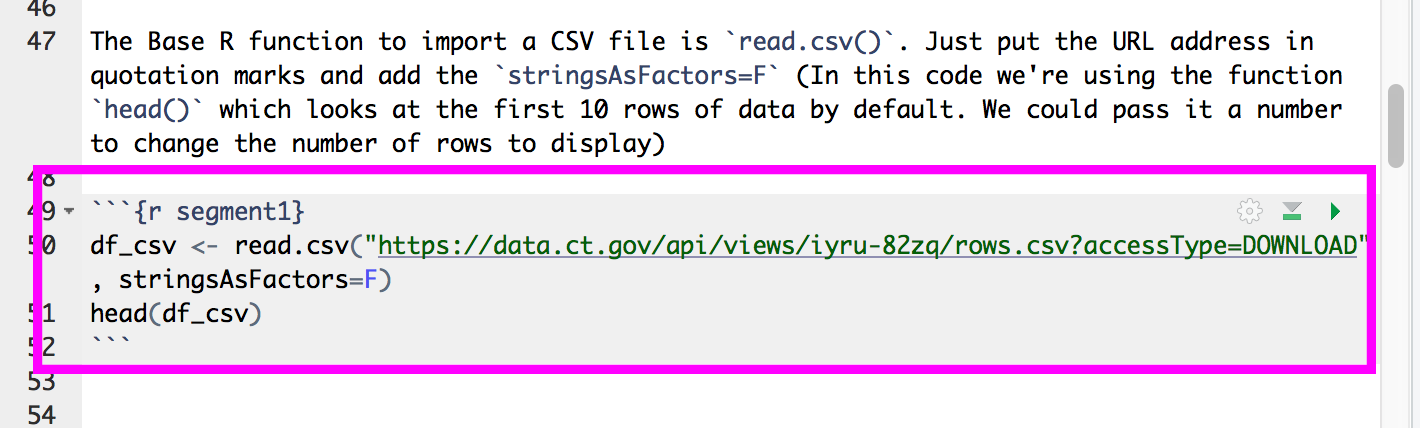
Each section can be executed with the green triangle button on the right.

If you get an error, it might be because you didn’t run a chunk of code above. This is essentially an R script broken up into pieces and separated by text. Code depends on code executing above it successfully.
Here’s how to run code above a current chunk:

The ideal way to follow along
Do as much manually as you can.
After you get the files and folders, open a new script file and write out the code written in each video and sub chapter code through. An R script of only the code for each section is also in each folder. Avoid using that unless you have to.
Avoid just running code chunks in R Markdown.
Avoid copying and pasting the code.
Avoid passively learning.
Manually typing out your code starts the muscle memory and problem solving training.
That being said, if you get stuck, use that code that I’ve provided however you want.
© Copyright 2018, Andrew Ba Tran